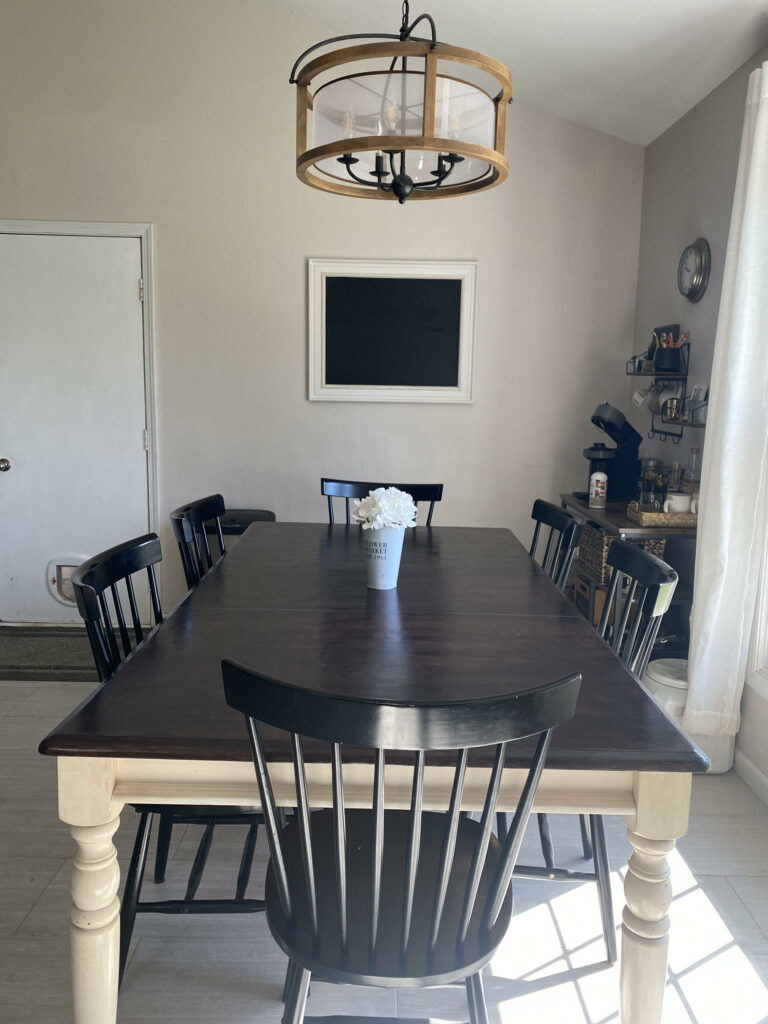
I am not a sentimental person, and there are precious few things in my house that I would not even consider replacing due to their emotional value. However, my dining room table is one of those irreplaceable items for me. It was one of the first “real” furniture purchases I made as a young homeowner, and it could tell a lot of stories about the meals, laughter and tears that have happened at it over the years. So when it started to look faded, chipped and dated, I sprung into action. And then again. And then again. And I will keep renewing it until I have sanded it down to a nub! So here are the many looks of my special table, and some suggestions and thoughts about the process and the natural products I used to give it new life (several times).
Your take-away? There are two big ones. First, if you have a piece of furniture that is meaningful to you but no longer looks great or fits your style, just refinish it! Second, if you don’t like the results, you can do it again! Rarely are you locked in – especially if you own a sander!
The current table is a beautiful deep brown color that I achieved using only mild products that I felt good about using indoors. To achieve this rich brown and also have the spill-proof element necessary in a table that children will eat off of, I used two of my favorite mild and easy-to-use products! Read on below.
The many previous looks of my beloved table:

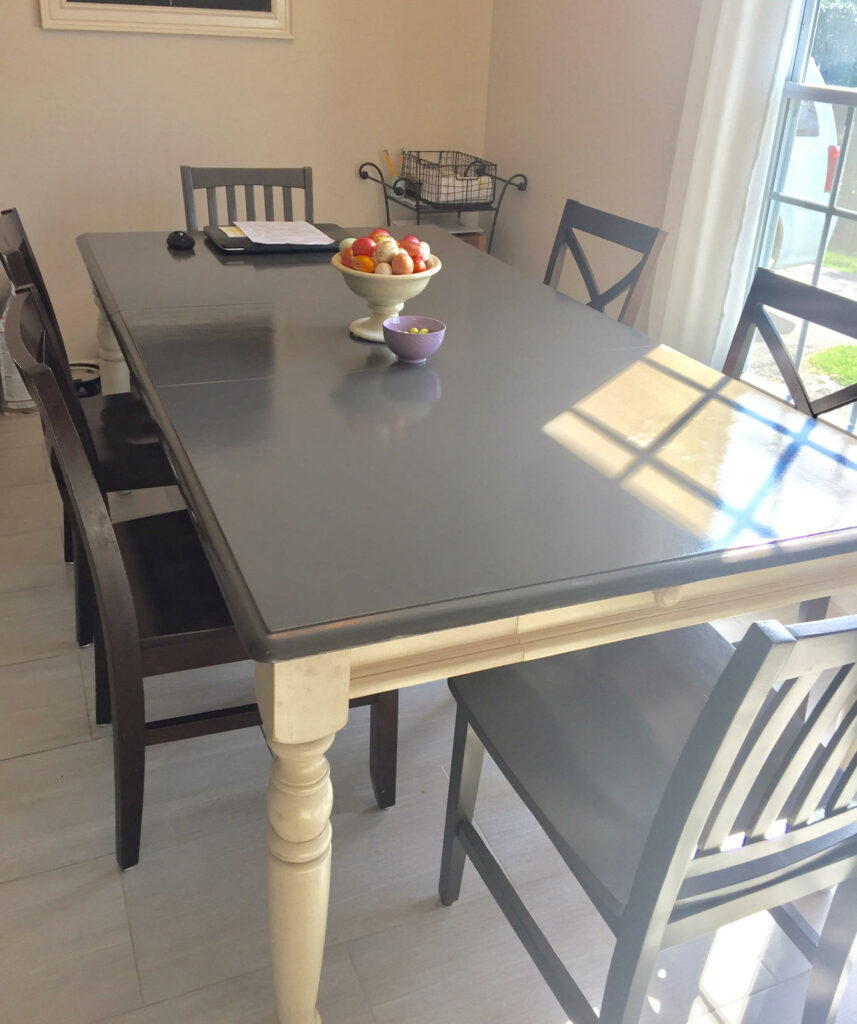
You may have furniture like my original table here in your own house. There is nothing exactly wrong with it, but it has a dated look that no longer fits with your style. Still, in a world of put-together-fake-wood furniture, you should hold on to these solid treasures when you can! So with my handy orbital sander, I spend longer than I care to admit sanding it down to bare wood. I then used Cabinet Paint in a dark grey color to renew the top of the table, and left the distressed antique white legs alone since I like how they look. The key to this whole process for a table is going to be the sealer.
I will not use traditional polyurethane. I am terrified of any flammable product. I look for gentler and more natural options, and to seal and waterproof the table I felt no different. After extensive research, I found Vermont Natural Coatings PolyWhey Sealer which uses why protein to seal in wood and is very gentle and low VOC. I wanted a super shiny table so I went with the gloss finish. And then I did it again. And again! Why did I do this multiple times? I am not going to lie – this was a tough product to use. My table sits in front of a window and streaks are revealed by sunlight, and boy did I get a lot of brush strokes and streaks. The secret is to maintain a wet edge and work quickly, and twice I failed this test and had to gently sand and start again. The third time, I used a sponge instead of a brush and went so quickly that I splattered the sealer everywhere. A lot of cleanup later, I LOVED the look. The table was shiny and beautiful once we could use it – as a water-based sealer it took several weeks to fully cure. This is a highly recommended product if you are willing to go into this knowing it takes some skill and planning.
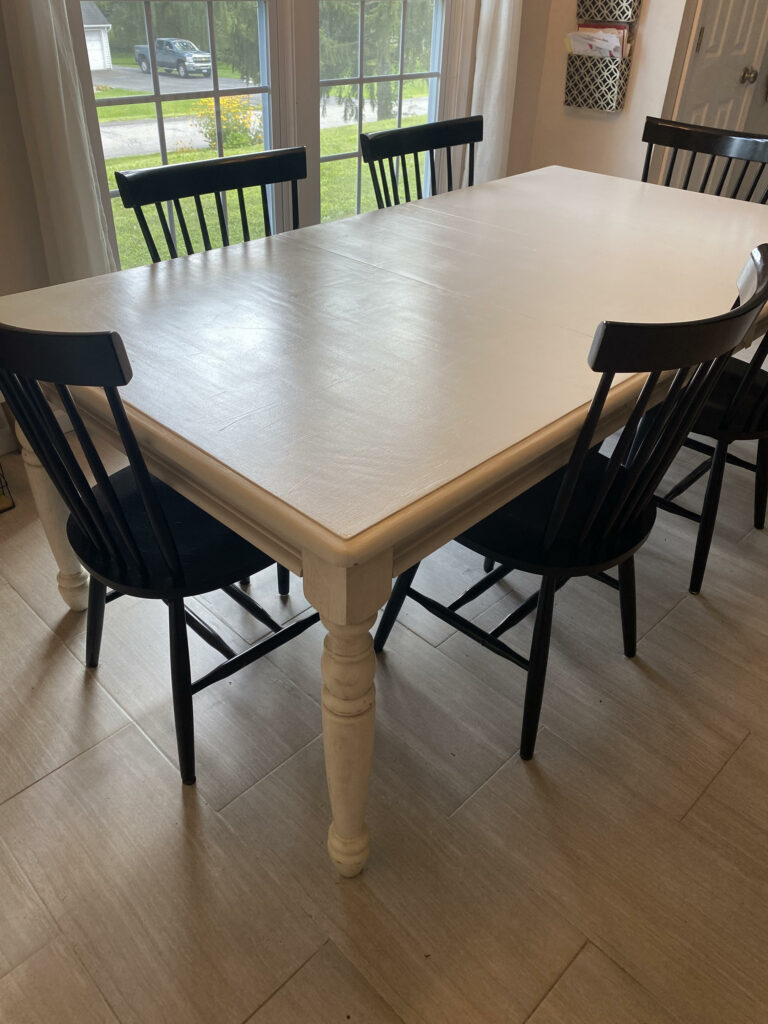
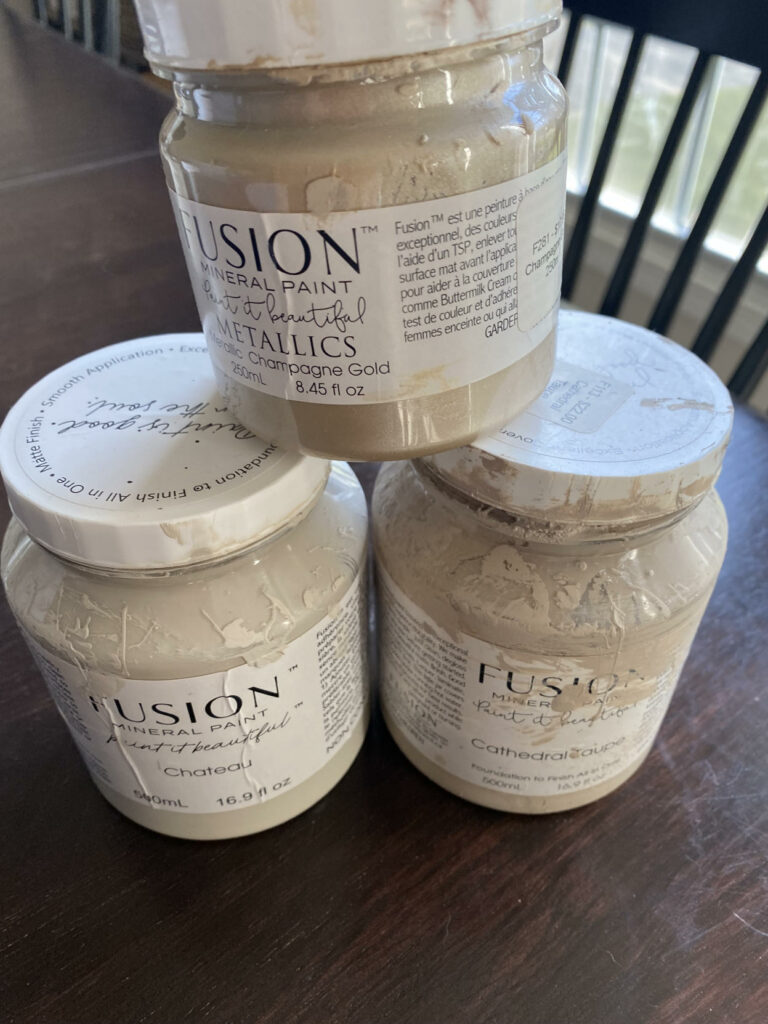
However, I got a few chips in the table over time. Our table is heavily used, so it was bound to happen. I then decided to update the look with a less shiny white coat of paint and, of course, a sealer. I went with Fusion Mineral Paint in Chateau for the nice whitish color. Fusion paint is natural, low VOC and you will see I mention it a lot because it goes on like butter. If you like painting, using Fusion takes the experience to a whole new level. It is heavenly to paint with, and often one coat is all you need! However, I made a mistake by sealing this lovely white with General Finishes High Performance Water-Based Topcoat, and despite it being a nice product, it did yellow the paint in certain spots. This is my fault – their website even says this might happen – so they were very honest. I lived with it as long as I could, and then the sander came out again!
House Hundred Project Time!
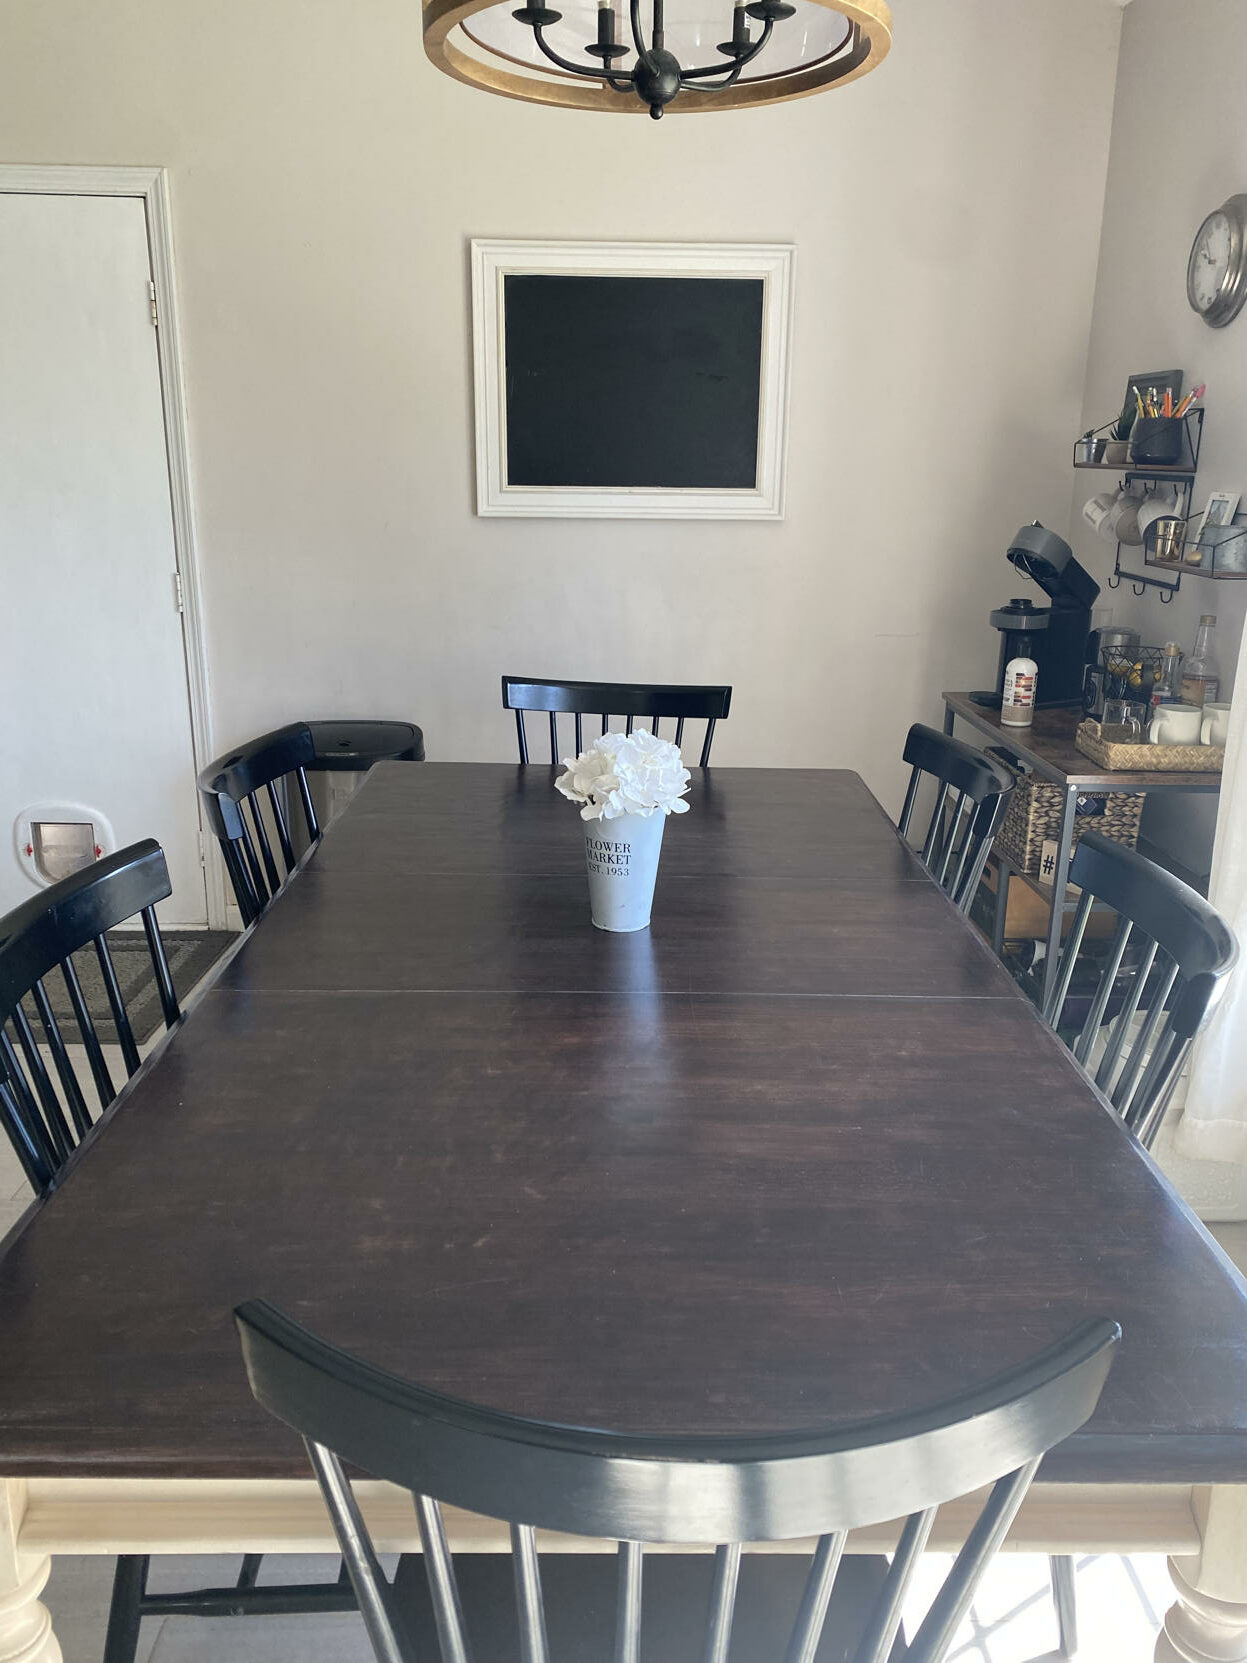
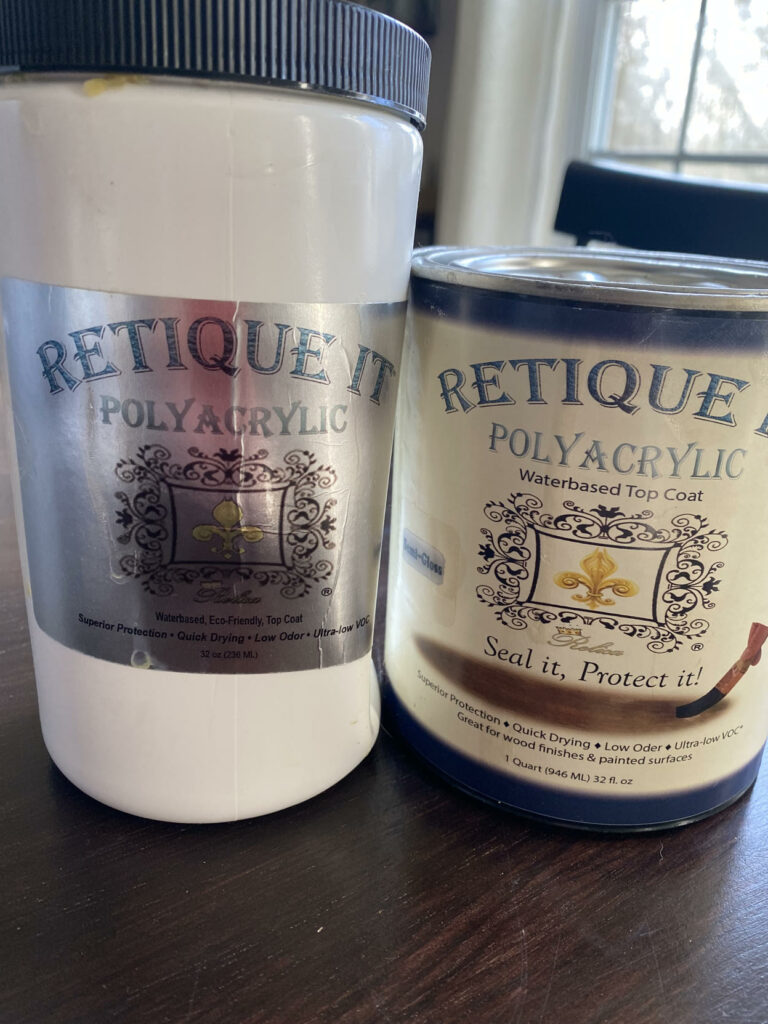
So here is my third table remodel. I love the look of the dark wood with the black chairs, but broken up by the antique-y white legs. The Retique It is a great product to work with on bare wood. And the Polyacrylic Sealer has been a friend so far. It is not super-shiny, but as long as you polish it now and again, it has a nice sheen to it that sunlight loves! Also, I can attest that the sealer cleans up easily, as I dropped my open container on the floor while working and it went EVERYWHERE. This is real life! I cleaned it up with soap and water and everything was just fine (but I had to buy more and probably said some words I will not repeat here)!
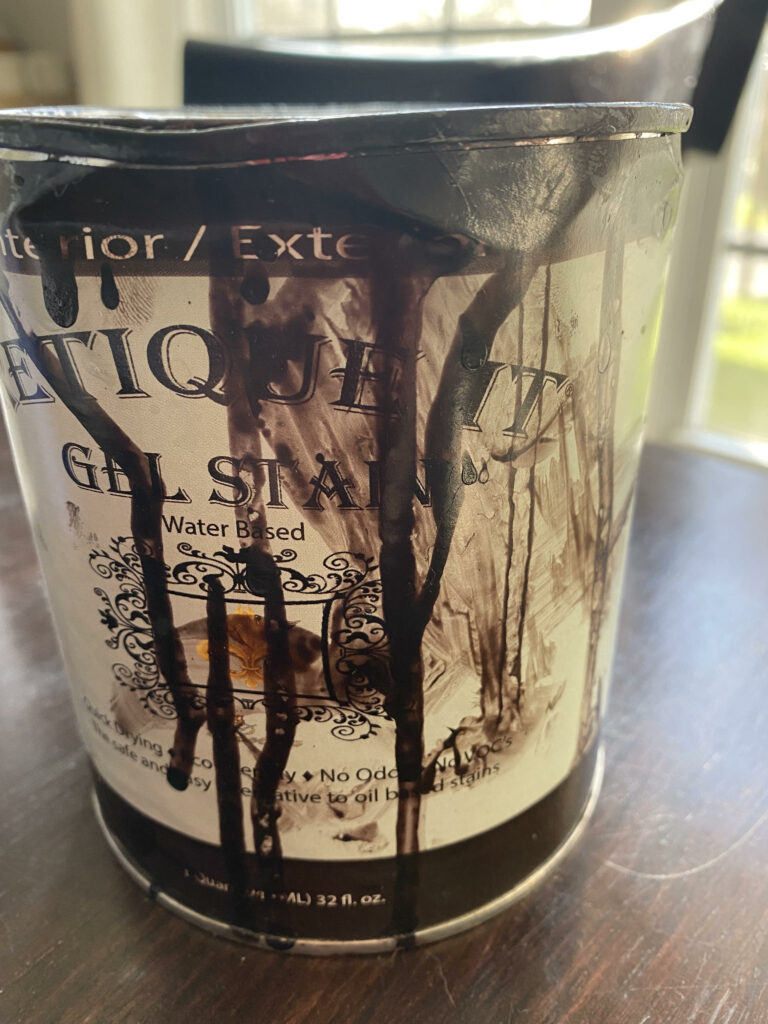
What I used: For this latest look, I used Retique It Water-Based Gel Stain in Java, which is gentle, non-smelly and easy to clean up! I then sealed it with Retique It Polyacrylic. I find both of these products to be very user-friendly and I love that they are both water-based without harsh chemicals! The sealer gives the table a little sheen while protecting it from the inevitable messes that will happen on a dining table.
Here are few pics of them for context.

Reality Check:
Our table is the catch basin for all things coming into the house. It shouldn’t really be this way as I have instituted several measures to avoid this bad habit including what I refer to as the “plop bench” and a basket in the closet where husbands and kids can effortlessly relieve themselves of their belongings. But they always, always choose to dump their items on the table. And weirdly this is my cat’s favorite place to hang out!
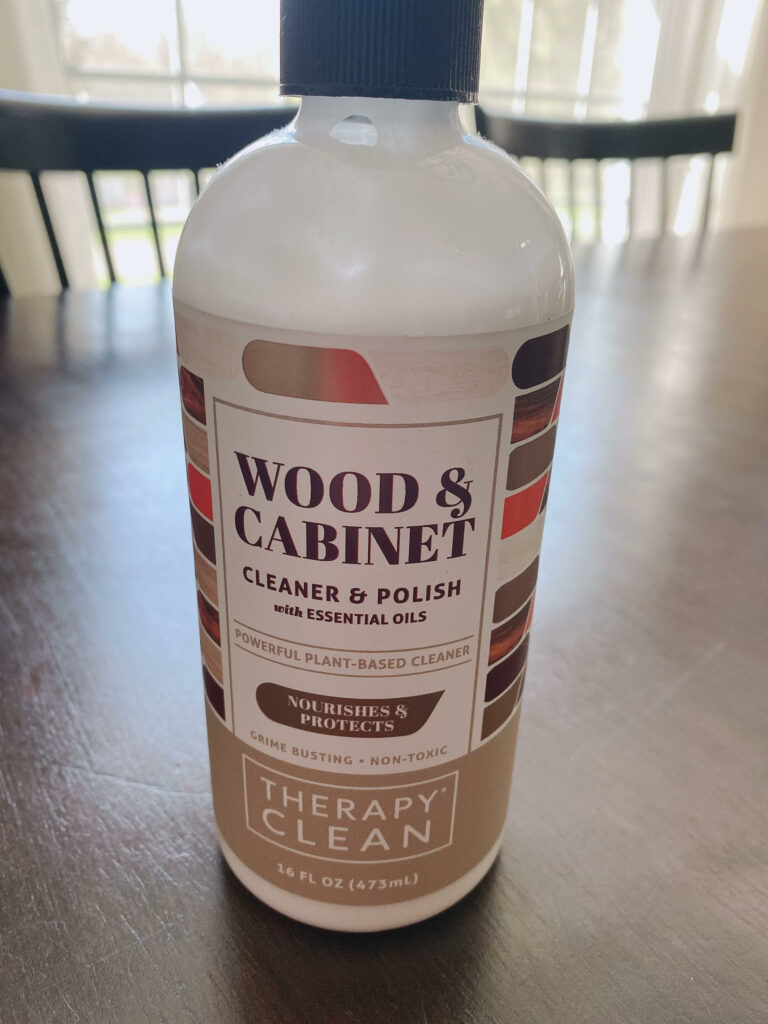
I keep my table looking great after so much daily abuse with this wonderful natural cleaner that I just love! It is Wood & Cabinet Cleaner and Polish “Therapy Clean” with Essential Oils, and it looks and smells terrific!